


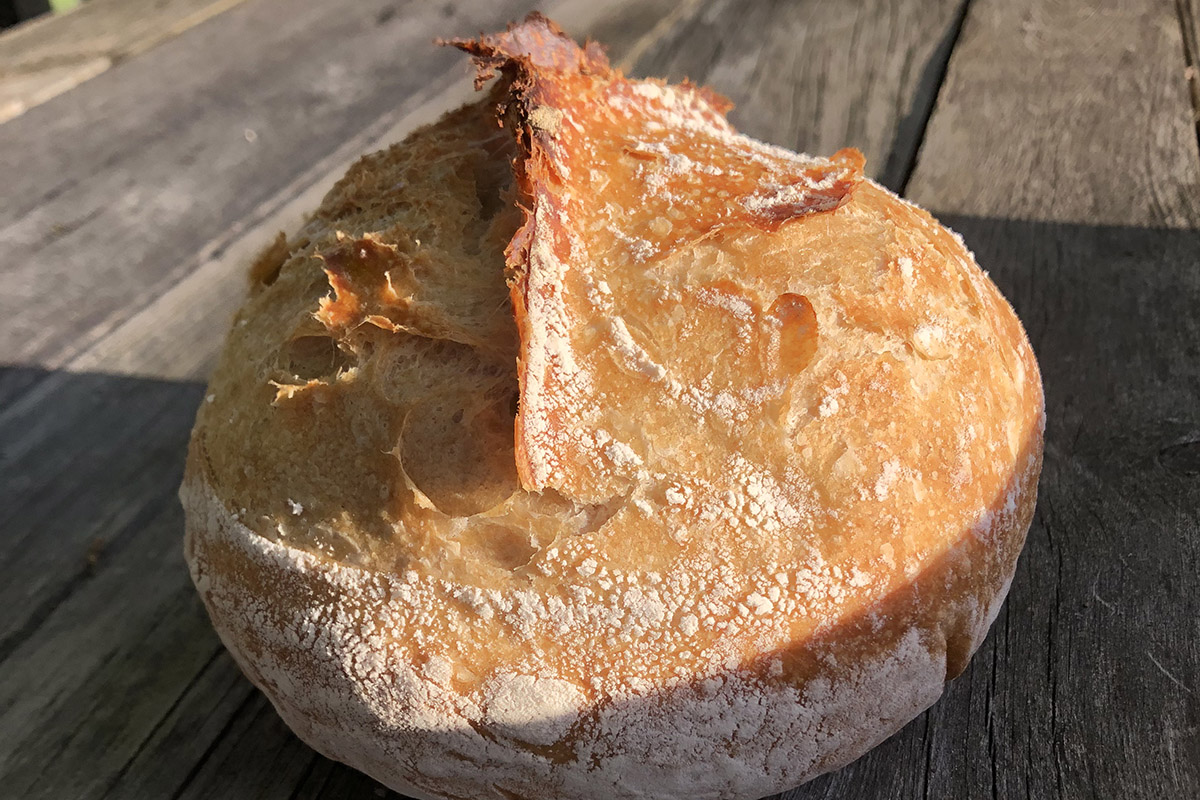
When you use a dutch oven for bread baking, you create a miniature steam oven, which makes for great oven-spring and a wonderfully crunchy crust. (Kayte Young/WFIU)
This is a great tasting bread made with “wild” yeast. There is no commercial yeast added. It is not difficult to keep the sourdough starter alive, and you only need to store a small amount of starter in between baking sessions. You can keep the starter in your fridge for up to two weeks. Longer than that and you'll want to feed it (step one in the recipe).
I learned this method from Alex Chambers, though over the years I have modified it to my own tastes and abilities.
I like to make this bread on Sundays, starting the first step in the morning and baking it in the evening.
Hear the step-by-step process in the May 15 episode of Earth Eats.
(makes 2 loaves)
Step one: Make the Starter
2 tablespoons flour (I use half all purpose, half whole wheat for all of the steps)
1 tablespoon water
1 tablespoon of sourdough starter*
Mix these three together and let it sit out for 3-6 hours*.
Step two: Make the Leaven
1 cup flour
½ cup water
The Starter that you mixed and let sit for 3-6 hours
Mix these together and let it sit for another 3-4 hours**.
Step three: Save Starter for next time.
Take out 1 tablespoon of this mixture and put it in a jar with a lid in the fridge (as a starter for next time).
Step four: Make the Dough
6 cups flour
2½ teaspoons salt
2-3 cups water
The Leaven that you mixed and let sit out for 3-4 hours.
Mix the dry flour and salt. Add some of the water to the leaven and mix it, adding more of the water, until it becomes soupy. Mix the soupy leaven and the rest of the water into the dry ingredients. Add enough water to mix it all into a “shaggy mass” – a pretty wet dough.
Let it sit for 2-4 hours, until it has visibly grown and become airy and tender to the touch.
Every half hour or 45 minutes, return to the dough and "fold it." Folding involves grabbing an edge of the dough, pulling it up, and pushing it down into the center of the dough. Do this again to the opposite edge. Repeat, making 4 folds, total. Do this several times while the dough is rising.
Step five: Shaping and Proofing
Using just enough flour to keep dough from sticking to work surface or to your fingers, gently and quickly shape dough into a ball. Try to create a tight surface over the top of the dough ball.
I recommend watching some videos online of bakers shaping dough. It is really helpful to see someone in action before trying it yourself.
Place the shaped dough on a floured piece of parchment, seams side down. Cover with a floured piece of plastic wrap and let it sit for about an hour.
Pre-heat your oven to 500 F, and place a dutch oven (two if you have them) inside the oven, with the lid on.
Step six: Bake using one of the two methods below:
Dutch Oven (cast iron pot with a lid -with or without an enamel coating- this method gives the bread great oven spring and a wonderfully crunchy crust)
Be sure to pre-heat the pot in the oven, while the shaped loaf is proofing. You'll need at least 45 minutes to pre-heat.
When dough is ready, carefully remove pot from oven. Grabbing two corners of the parchment, lower the bread dough into the pot. Slash across the top of the loaf with a sharp knife, razor blad or lame, quickly, decisively carefully. Cover with lid place in the oven and reduce heat to 450. Bake 35-40 minutes, removing the lid about halfway through. Bake until loaf is beautifully browned. Remove pot from oven, dump the loaf on the counter and thump the bottom. If it has a hollow sound, it should be done. *** Cool on a rack for an hour before cutting into it.
Steamy Oven (if you don’t have a pot to use, or want to bake more than one loaf at a time, use this method)
Put your shaped loaves on a baking sheet. Preheat the oven to 525 (or as hot as your oven goes), and pour 1 cup hot water onto a tray underneath the baking sheet right after putting the loaves in the oven. After about 3 minutes turn the temperature down to 450 and bake about 30-40 minutes, until the loaves are golden-brown and give a good hollow thump when when tap the bottom.
*If you don't have a starter, you'll need to make one. It will take some time. Here are some good instructions that I have used. These instructions are for a citizen science project, but you can just make it for yourself. It will probably only take 4-5 days to get a good starter going--not the full 14 days of this experiment. Once you have good bubbles and rising action, it is ready and you can set aside one Tablespoon in a jar in your fridge and that is your starter.
**depending on the temperature of the room. Note that any of these steps can be slowed down further by refrigerating
***If you don’t trust your thumb and ears to determine when the thump is good and hollow, you can check the loaf’s doneness with a kitchen probe thermometer/meat thermometer. For a lean loaf like this one, the temperature in the center should be about 210°F. Allow to cool 45 minutes – 1 hour before cutting into it.