Season 8 of Christopher Kimball's Milk Street Television will return on Tuesday, September 10th with all kinds of recipes from all over the world. This season will showcase recipes from Mexico, France, Italy, Ukraine, Turkey, Thailand, England, Pakistan, Hungary, and more! Two new segments will also be introduced, including:
- Milk Street Development Kitchen segments will go behind the scenes of the recipe development process, showing how lessons learned on the road are adapted for recipes and will highlight crucial revelations from that recipe development process.
- Milk Street 101 segments will spotlight cooking fundamentals while tackling burning culinary questions that foodies and food lovers alike need to know!
A highlight from the season comes all the way from Paris, France - Parisan Flan! Christopher Kimball heads back to Paris to satiate his sweet tooth with two show-stopping recipes, one of which has Chris the most excited he's ever been about a dessert! First up is a towering Parisian Flan, where we harness the science of cornstarch to make a pastry cream filling with a double dose of vanilla.

RECIPE:
Start to finish: 2 hours (40 minutes active), plus cooling
Servings: 12 to 16
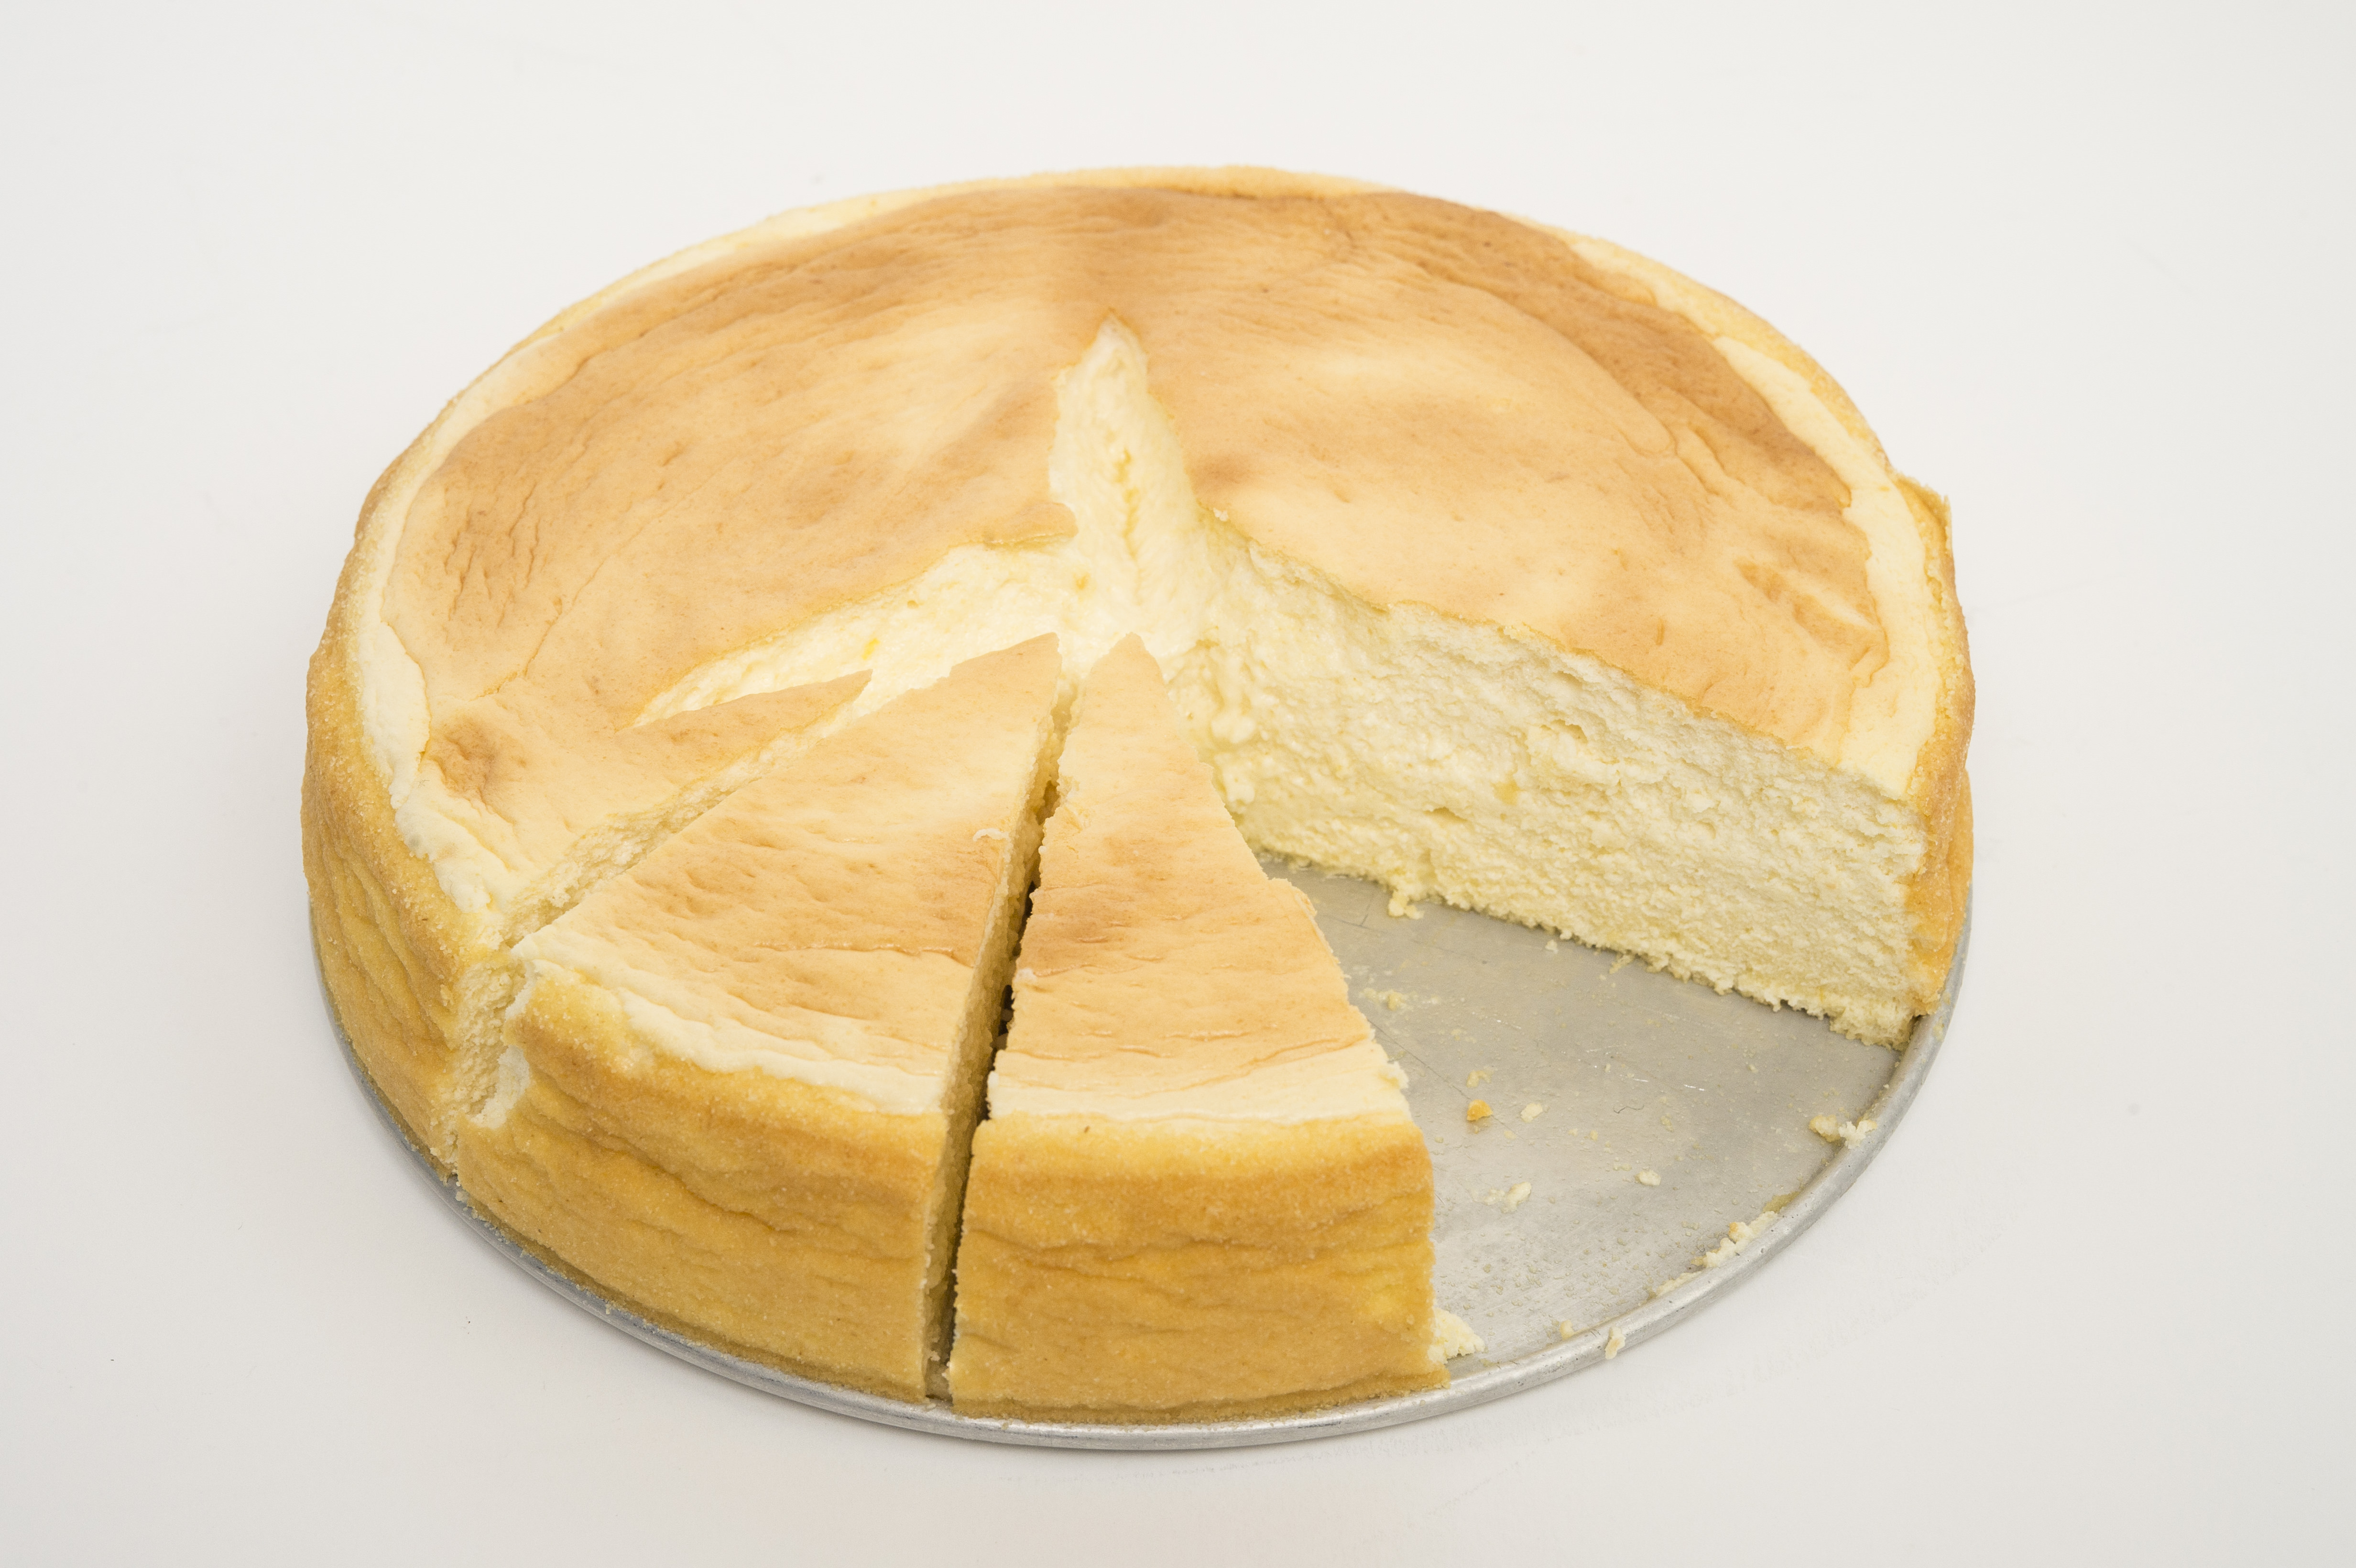
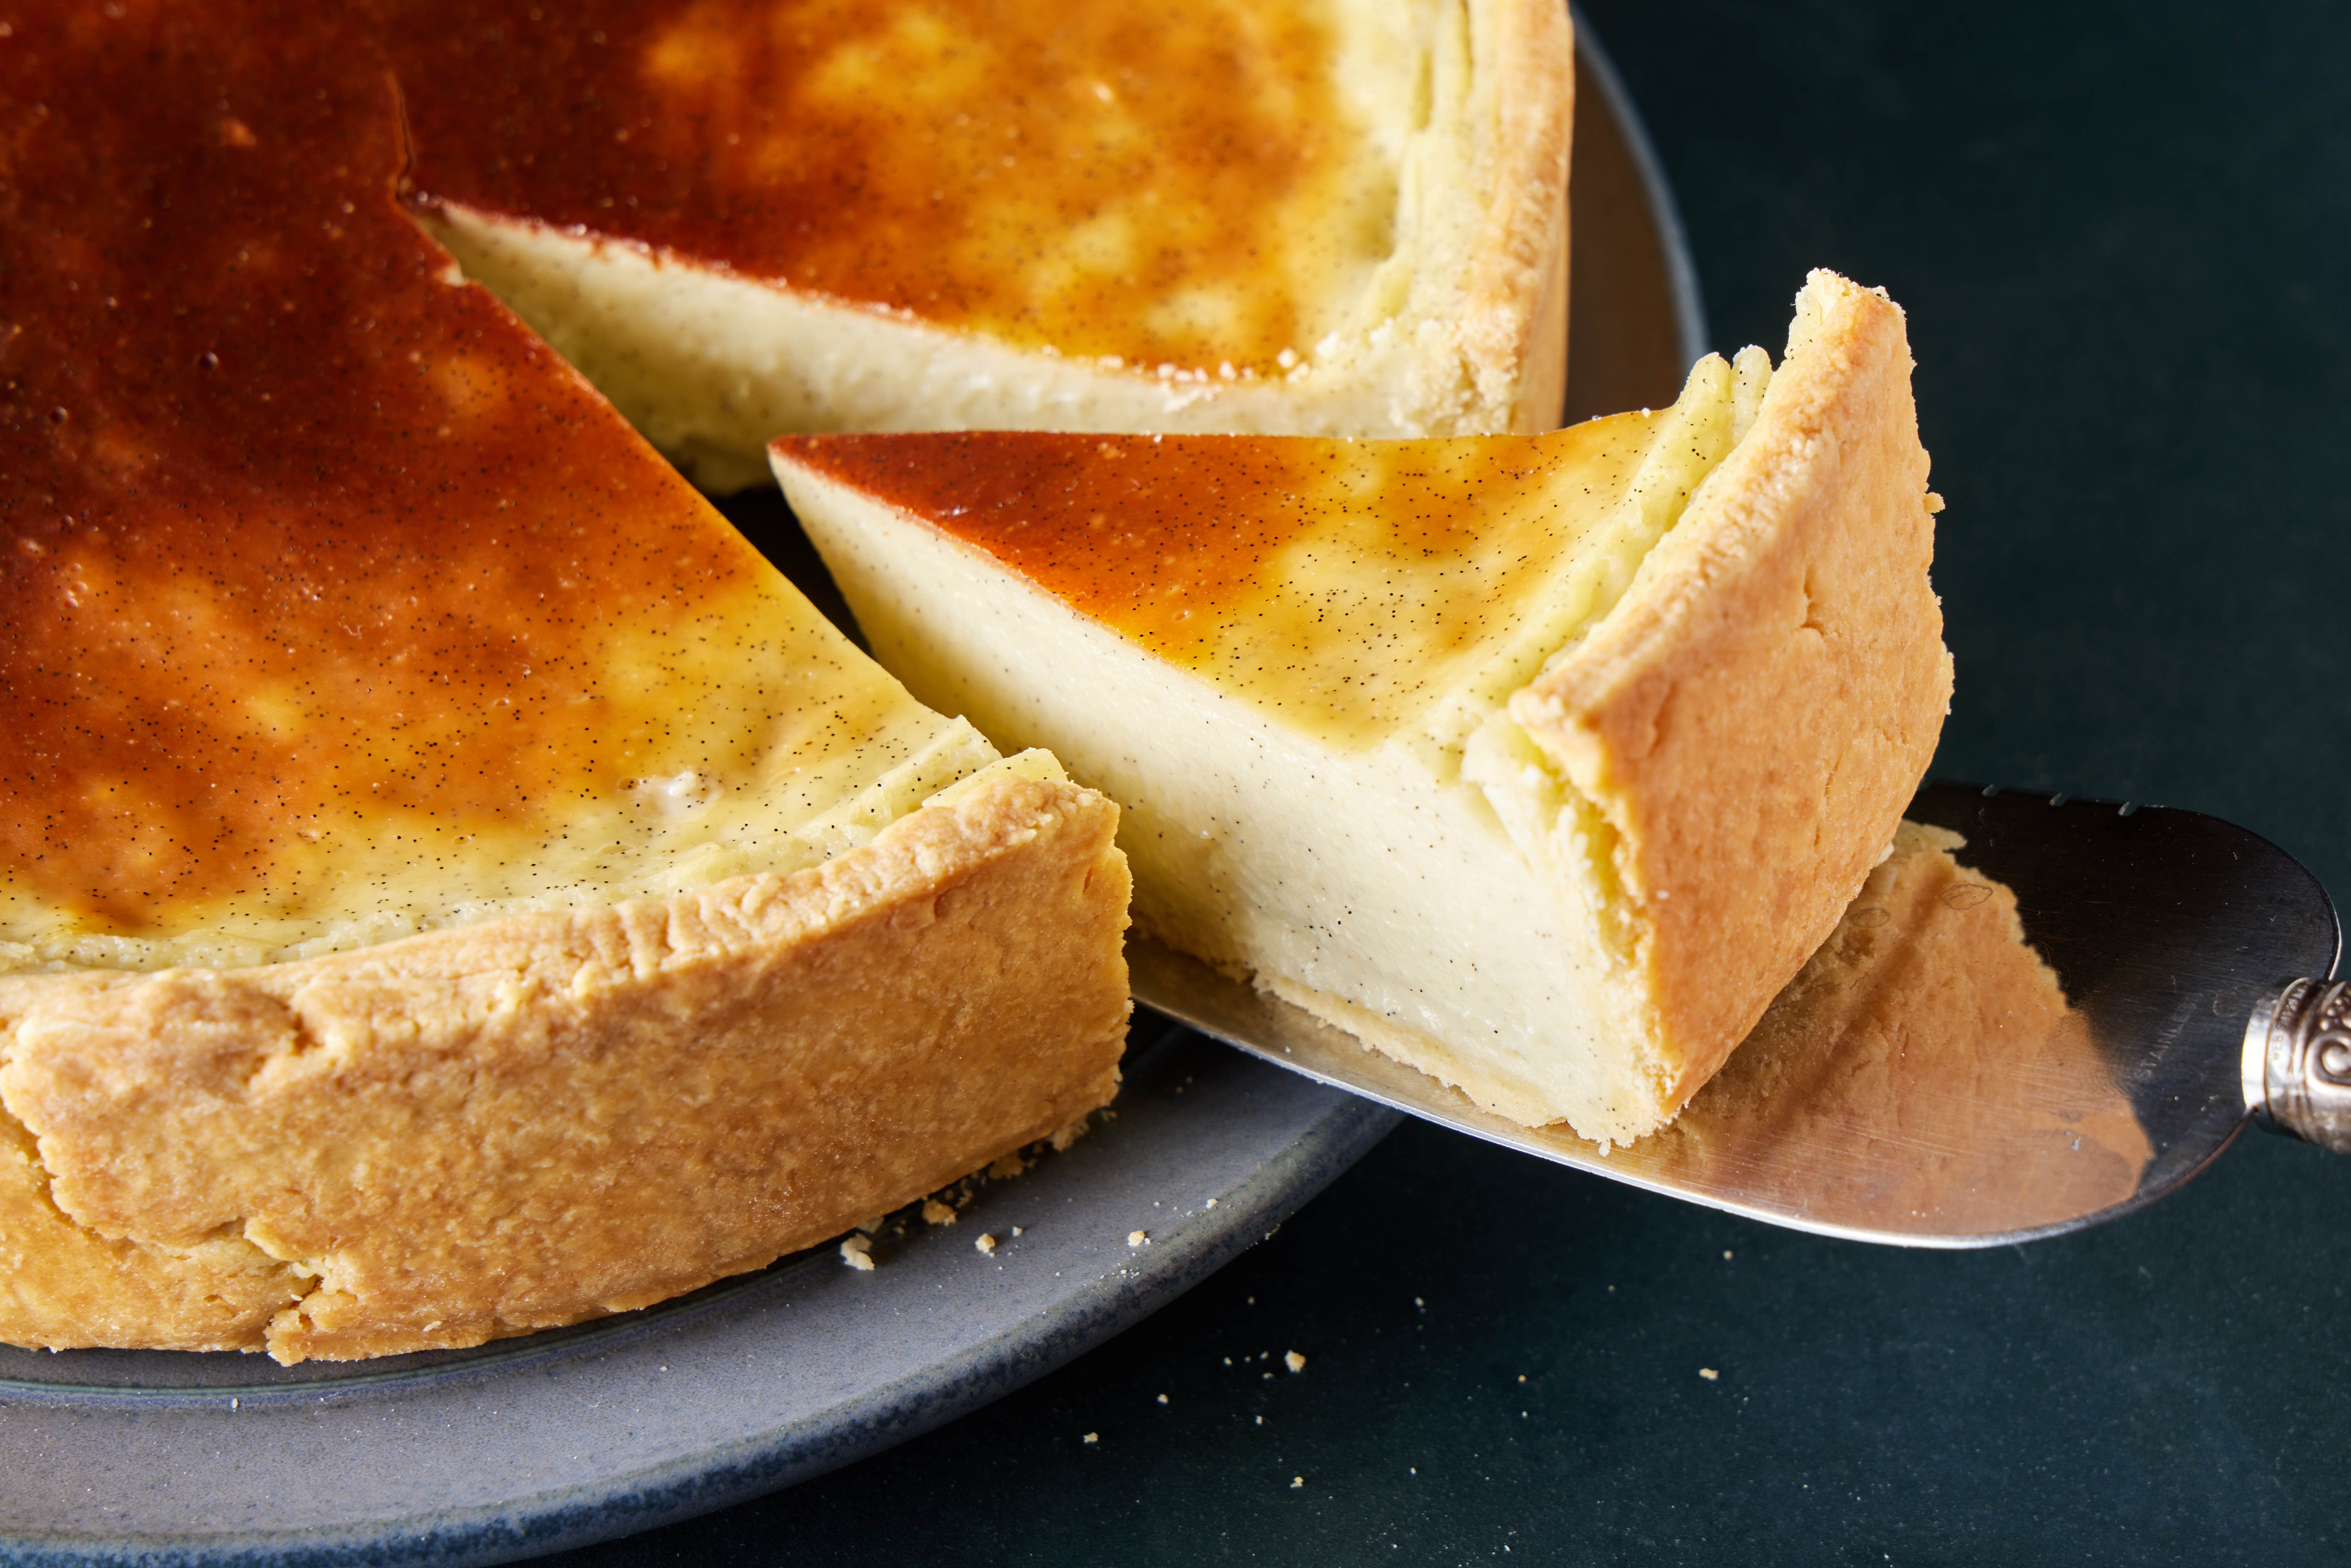
Parisian flan is not the quivering, caramel-doused custard of Spanish origin. Rather, it’s a tart with a cheesecake-like stature. Some versions are crustless while others, like this, include a sturdy but buttery pastry. But the focal point always is a thick, smooth layer of pastry cream-like filling that forms a burnished “skin” in the oven. With just the right amount of richness and sweetness and a “set,” sliceable texture, flan pâtissier can be enjoyed as a snack or served as dessert. At Amazonia restaurant in Paris, Stéphane Jimenez made his version using equipment common in professional French kitchens, but we achieved great results using a standard 9-inch springform pan. Note that dark nonstick pans and light-colored pans require slightly different baking times, as indicated in the recipe. Jimenez said the filling could be flavored any number of ways, but we kept things simple with a double dose of vanilla in the form of bean (or powder or paste) plus extract. The apricot glaze adds luster, but is optional. Parisian flan typically is served chilled and will keep for up to three days in the refrigerator. For easy slicing, use a serrated knife to gently saw through the surface and into the crust, then finish the cut with a chef’s knife that has been dipped in hot water and wiped dry.
Don’t bake the tart immediately after filling the dough-lined pan. Refrigerate it uncovered for up to 30 minutes while the oven comes to temperature. This allows the “skin” to begin to form on the surface and prevents it from souffléing above the crust during baking. Also, don’t bake the tart until the filling is set. It should be jiggly at the center and even at the edges. With cooling and chilling, the texture will firm up. Finally, be sure to allow the tart to fully cool before refrigerating. We found that the edges of the filling had a tendency to pull away from the crust if refrigerated when warm.
INGREDIENTS
For the crust:
2 large egg yolks
260 grams (2 cups) all-purpose flour, plus more for dusting
1 tablespoon white sugar
1⁄2 teaspoon table salt
113 grams (8 tablespoons) cold salted butter, cut into 1⁄2-inch cubes
For the filling:
1 quart whole milk
2 cups heavy cream
1 vanilla bean, 1 teaspoon vanilla paste or 1 teaspoon vanilla powder
214 grams (1 cup) white sugar
66 grams (1⁄2 cup) cornstarch
3 large eggs, plus 2 large egg yolks
1 tablespoon vanilla extract
For glazing (optional):
107 grams (1⁄3 cup) apricot jam
To make the crust, in a liquid measuring cup or small bowl, whisk together 1⁄4 cup water and the egg yolks. In a food processor, combine the flour, sugar and salt, then process until combined, about 5 seconds. Scatter the butter over the mixture and pulse until it resembles coarse sand, 10 to 12 pulses. Drizzle in the egg yolk mixture, then pulse until the dough forms a ball, 10 to 12 pulses.
Lightly dust the counter with flour and turn the dough out onto it. Gather the bits, then press the dough into a diskabout 6 inches in diameter. Wrap tightly in plastic, smoothing out any rough edges and forming the disk into a neat round. Refrigerate for at least 1 hour or up to 2 days.
Lightly dust the counter with flour, unwrap the dough and set it on the floured surface. Dust the dough with flour and, using a rolling pin, roll it into a circle about 13 inches in diameter. Drape the dough over the rolling pin and unroll over a 9-inch springform pan. Ease the dough into the pan by lifting the edges while gently pressing down into the corners; the edges of the dough will fall inward. Press the edges of the dough against the sides of the pan, flattening any pleats and folds; the sidewalls should be about 1⁄4 inch thick. Stand a ruler against the inside wall of the pan; do not press the edge of the ruler into the dough-lined bottom. Using the tip of a paring knife, mark a 2-inch height in the dough. Continue to mark 2 inches in the dough every couple of inches or so around the circumference of the pan. Now, using the paring knife, trim the dough, connecting the scored marks, so the top edge is even; discard the trimmings. Freeze uncovered for 30 minutes or cover with plastic wrap and freeze for up to 24 hours.
To make the filling, in a large saucepan, combine the milk and cream. If using a vanilla bean, with a paring knife, split the bean lengthwise, then scrape out the seeds and add the seeds and pod halves to the milk mixture; if using vanilla paste or powder, simply add it to the milk mixture. Bring to a gentle simmer over medium, stirring occasionally, then remove from the heat. Have ready a fine-mesh strainer set over a medium bowl.
In another medium bowl, whisk together the sugar and cornstarch. Whisk in the whole eggs and yolks. While whisking, slowly ladle in about one-third of the warm milk mixture to temper the egg mixture. Now, while whisking the milk mixture, slowly pour in the egg mixture. Return the pan to medium and cook, whisking constantly, until simmering. Cook, whisking constantly, for another 30 seconds, then remove from the heat. Pour the custard into the strainer set over the bowl, then work it through with a silicone spatula. Whisk in the vanilla extract.
Remove the dough-lined pan from the freezer. Pour in the warm filling; it should come about 1⁄4 inch shy of the rim of the crust. (Do not fill the crust to the very rim; reserve extra filling as a cook’s treat.) Smooth the surface, then refrigerate uncovered while the oven heats, or for up to 30 minutes. Heat the oven to 400°F with a rack in the lower-middle position.
If using a nonstick pan with a dark finish, bake the tart for 10 minutes; if using a light-colored pan, bake for 20 minutes. Leaving the tart in the oven, reduce the temperature to 350°F; bake until the surface is browned and a thermometer inserted at the edge with the probe angled into the center reaches about 180°F, 40 to 45 minutes if using a nonstick pan or 35 to 40 minutes if using a light-colored pan. Begin checking a few minutes before the low end of the time range, and keep in mind that once the temperature nears the finish, it tends to rise quickly. Even when done, the center and sides of the filling will be jiggly; it will set up as the tart cools and as it chills.
Set on a wire rack and cool completely in the pan, at least 2 hours. Run a narrow-bladed knife around the edge of the tart to loosen the sides, then refrigerate uncovered for at least 1 hour or up to 3 days; if storing for longer than a couple hours, cover with foil before refrigerating. If the tart is fully chilled, let stand at room temperature for about 1 hour before serving.
To make the optional glaze, in a small saucepan over medium, bring the apricot jam to a simmer, stirring often. Scrape the jam into a fine-mesh strainer set over a small bowl and use a silicone spatula to work it through; discard the solids in the strainer. Gently brush the warm glaze onto the filling’s surface and the edge of the crust.


